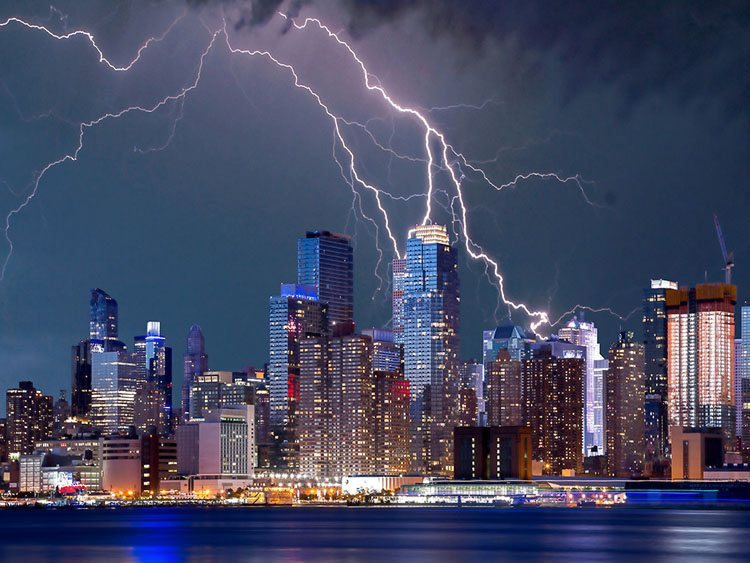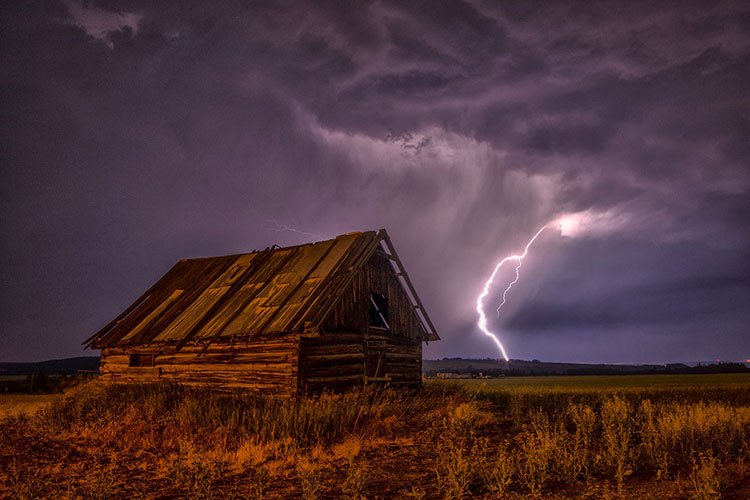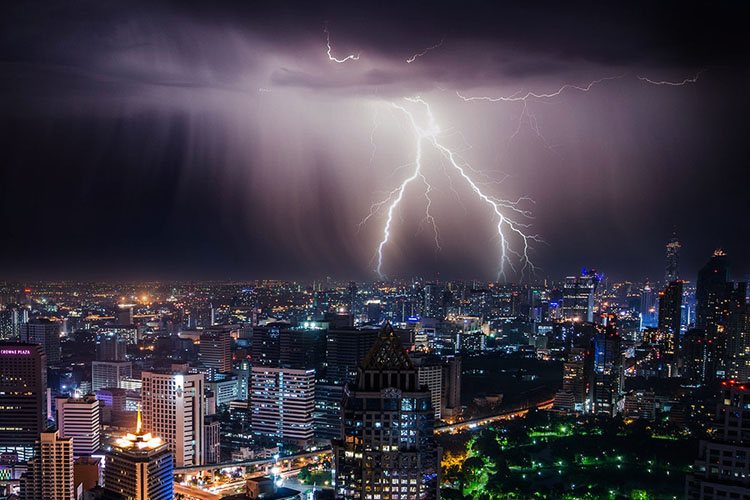
In this high-speed photography tutorial, we'll first talk about how to use MIOPS Smart+ to take photos of lightning, then see how to make our photos extraordinary. Please note that shooting lightning can be dangerous so safety is important, stay safe. This is the first article about high speed photography without flash.
Okay, let’s talk about how to use MIOPS Smart+ lightning trigger for capturing pictures of lightning. First, we need to find a location that an open sky and has interesting foreground elements, like high-rise buildings, mountains, or trees. Photos with only lightning in the sky are much less interesting than those with a foreground that provides depth and perspective. Scout two to three locations in advance and also keep an eye on the weather so you can be there well in advance.

Gear required
First, you need a DSLR camera or any other camera that can be controlled remotely. For this type of photography, using a wide angle lens is best as it has a large field of view, capturing a more substantial portion of the sky where lightning may strike. A tripod is also a must, and make sure you have something to cover yourself and your camera to protect it from the rain.
Camera and trigger settings
Fix your camera on a tripod and set the frame, making sure you have interesting elements in your frame. Now focus on the foreground and take a shot, which we will use later.
Now bring out the MIOPS Smart+ and attach it to your camera. Set it to the "Lightning" mode and the sensitivity to about 95%. Set your camera to manual mode, the ISO to 200, aperture somewhere between f/8 – f/11 and shutter speed to 1/125. The shutter speed in this scenario doesn't make a difference as the lightning strike is for a very short burst of time. Finally, don't forget to set your lens the manual focus.

Shooting
Once everything is setup, start your MIOPS Smart+ trigger and wait for lightning to strike. As soon as lightning strikes, your camera should take a picture. If it's not, increase the sensitivity of the trigger.
When your camera takes the first shot, check it, and make changes to your camera settings accordingly. If it's too dark, increase the ISO or change the aperture to open it wider. If it's overexposed, decrease the ISO or narrow the aperture. Changing the shutter speed won't make any difference. Make sure these shots have only lightning, and the rest of the frame should be totally dark.
Once you are satisfied with the exposure, leave the camera and let it take 10-12 shots. If you want to take more shots using different angles or with another foreground element, repeat the same process, and take one foreground shot and 10-12 other shots.

Making your lightning photos extraordinary
Once back home, it's time to have a hot coffee. After warming up with your coffee, download all the images on your computer - it's time to merge your images and make them extraordinary. We are going to use Photoshop® for this. If you don't have Photoshop®, you can download a trial version from their website.
Open your foreground image (remember the first shot with foreground elements in focus). Now open your 5-6 lightning best shots lightning photos. Select these shots, copy and paste on your foreground shot one by one.
You should now have one file with one foreground layer and 5-6 lightning layers. Close all other files - we don't need them anymore. Now look at your layer palette at the right side, you'll find all the layers there. If it's not there, click on Windows at the top menu and open it by clicking on Layers.
Now it's time to hide all layers except the foreground layer. Select the layer that is just above the foreground layer and unhide it - (i.e., make it visible). Change its blending mode to "Lighten" and reduce its opacity between 50-70%. When you do this, only the lighting will be visible, and the rest of the frame will be hidden automatically. Repeat this process with all the layers, and voilà, you have an image with lots of lightning flashes. At this point, you'll probably be thinking, "Oh my God, it's the same picture I saw on the internet and always wanted to shoot!"
Once you are satisfied with your picture, merge all the layers, and export your image. Now share it all over the internet and get ready to receive thousands of likes and comments. Don't forget to share them here too!

In conclusion, the challenge of capturing the raw beauty and power of lightning strikes is made significantly easier with the MIOPS Smart+ lightning trigger. This innovative device ensures that photographers, regardless of skill level, can seize the moment lightning illuminates the sky, without relying on luck or perfect timing.
By automating the capture process with precise, lightning-fast triggers, it opens up new possibilities for stunning photography. Whether you're fascinated by the science of storms or simply captivated by their beauty, equipping yourself with the right tools like the MIOPS Smart+ can transform your lightning photography from a game of chance to an art form.
Related Article: 10 Things You Can Do with a Camera Trigger
Related Article: Lightning Explore Site
About the Author
Ramakant Sharda is an author, iOS App publisher, passionate photographer and a MIOPS Ambassador based in the beautiful “Pink City” of India, known as Jaipur. His work has been published in various magazines, newspapers, and blogs. He has published three Coffee Table Books, he writes about photography and also teaches photography in his workshops. Check out his website http://ClickManic.com to see the masterpieces created by him or download his free app for iPhone and iPad “30 Days to an Ace Photographer“.


