
1 – Begin with locations that work for photography
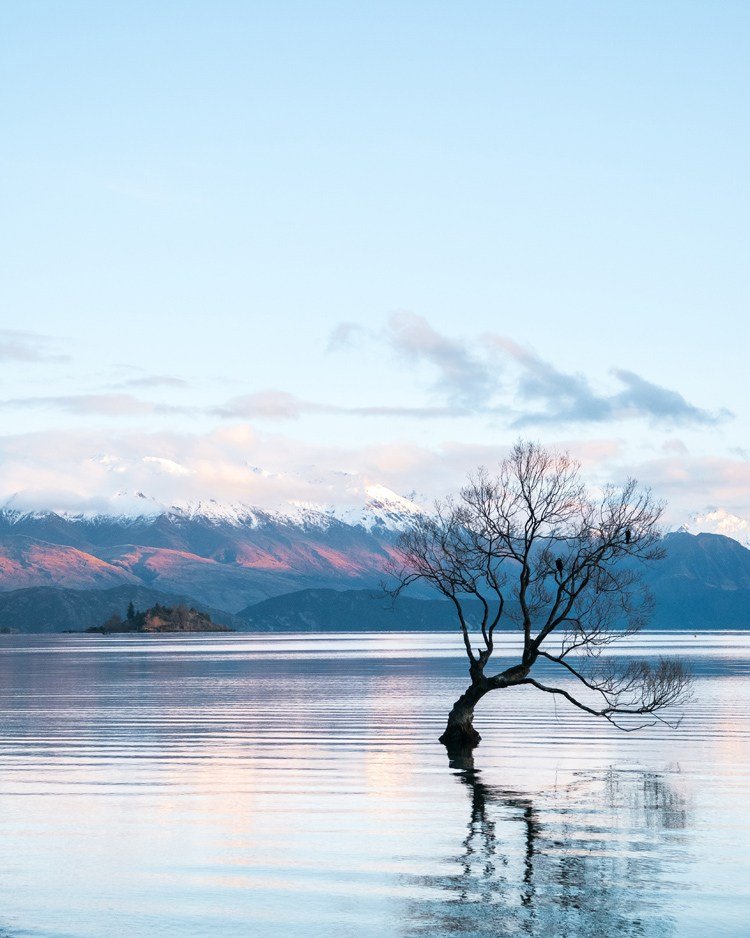
Many people assume that what looks good to the human eye, will inevitably look good in an image. While this is often the case, it cannot be assumed. The scale of a flat horizon that sweeps in all directions for miles can be astounding in-person, but without elements within the landscape to help give it a sense of depth and reveal the degree of its vastness, this kind of scene can look extremely flat in a photograph. For this reason, it often helps to seek out ‘foreground subjects’ within a landscape that can form the focal point of your images and give their viewer a sense of scale. This could be a solitary tree, an old building or jetty, a winding river or road, anything to provide an anchor in wider scenes. Just because a tourist board has listed somewhere as a “scenic location”, or a friend loves a particular walk, does not mean that it makes for a stunning image, while otherwise overlooked locations can become the foundation for a masterpiece.
2 – Get basic settings and composition right
The fastest way to undermine even the strongest competition is to not pay enough attention to the basics of a good image. Is the scene in focus? Is its horizon level? Has it been properly exposed? Is it sharp? These may seem like obvious factors to consider before pressing the shutter, but in the heat of the moment, they are often overlooked by inexperienced photographers. If you want your images to look professional, check, then double check the basics of your settings and composition. Not only will using a tripod help you to ensure a level horizon and shake-free images, but it will also encourage you to slow down your shooting process and be more deliberate in your actions. Narrow apertures such as f/14 will enable you to produce large depths of field so that your entire scene appears within focus, while a camera’s histogram will allow you to monitor for blown out highlights or underexposed shadows. Take your time. Unlike sports or wildlife photography, how quickly you can take your shot is often unimportant, the strength of your composition and technical perfection is.
3 – Select your equipment with the purpose
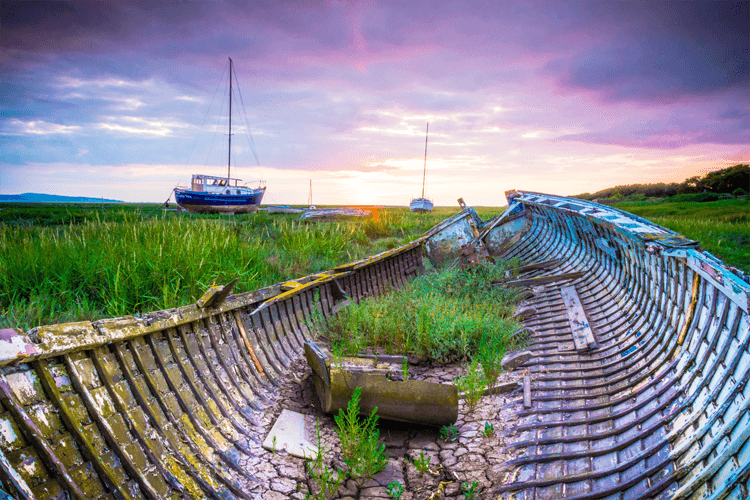
What lens are you using for your images and why? If you want to capture sweeping views and exaggerate foreground subjects, a wide-angle lens like a 12-24mm or 16-35mm zoom may be your best choice, if you want to pick sections of a landscape to fill the frame or dramatically compress depth, a telephoto lens such as a 70-200mm will be a better choice. What filters are you using? A Graduated Neutral Density filter will hold back a bright sky for a more even exposure, while a solid Neutral Density filter will allow you to extend exposure times for stylish looking streaky skies and ethereal looking blurred water. Decide the kind of image you want to create at a location, and use the right gear to achieve it. It’s better to take two amazing images which you’ve spent an hour setting up for, than hundreds of quick snaps in the hope of grabbing one winner.
4 – Use classic compositional techniques (and break them when needed)
Amateur photographers often approach the main subject within their scene by placing it within the middle of the image, while this can be effective for some photos, there are often potential compositions that hold greater impact. Universally recognised rules for composition are a great place to start when framing up your images, they can help you achieve a professional look and balance in shots. Arguably the most important is known as the “Rule Of Thirds. This rule suggests you split your frame equally with two horizontal and two vertical lines to form a grid of nine rectangles. By placing your horizon along either the higher or lower horizontal line, you can achieve an image with a more pleasing balance between the land and sky of a landscape, than if you were to have it sit across the middle. You can try to place major elements of a scene such as foreground subjects, or background mountains on the dissecting vertical lines for greater impact too. The positions in the grid where horizontal and vertical line crosses are known as “power points”, and can be particularly effective areas of the frame for placing your scene’s focal point.

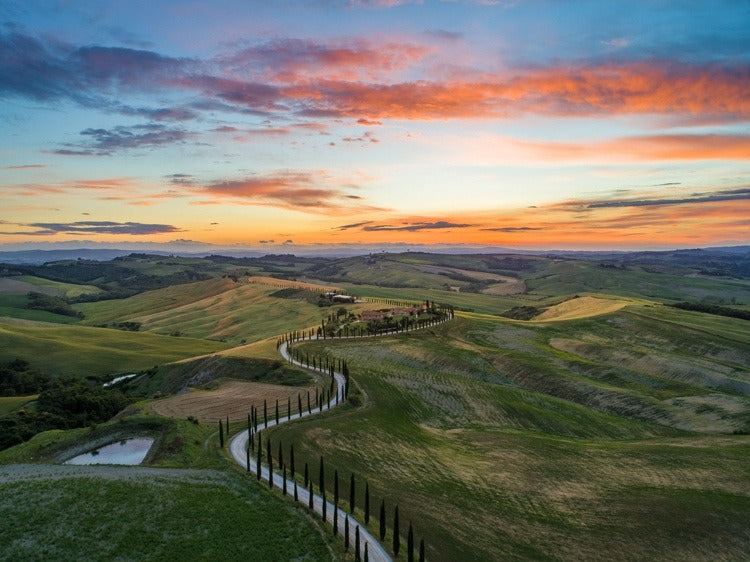
You can also try to use “lead-in” lines to draw a viewer into your image towards a focal point, giving it more impact in the process. These are lines within a scene which encourage a viewer to follow them with their gaze, they could be a road, a fence, a row of trees, almost anything that begins towards the edge of the frame and flows into the image.
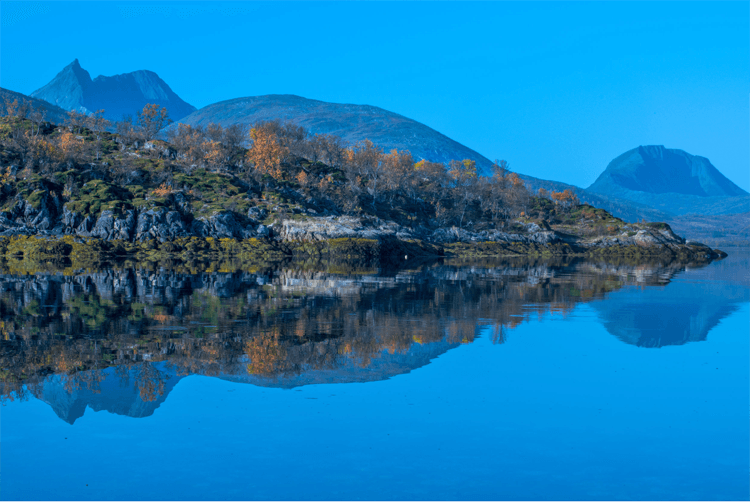
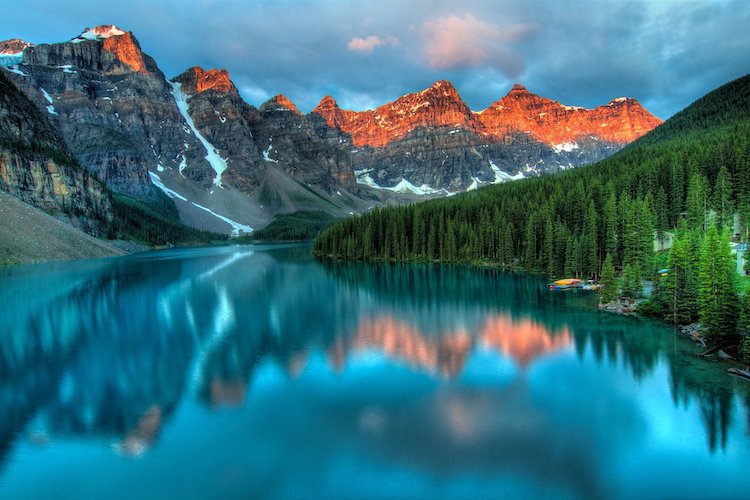
One time to consider breaking the rule-of-thirds is when capturing scenes with strong reflections, such as a lake or fjord in the foreground. In this situation, try placing the distant edge of the reflection across the middle of your image for an impact-filled mirrored effect.
5 – Visit locations at the best times of day
Sunset and sunrise are extremely popular times for landscape photography and rightly so, lighting up a location’s sky, they bring colour and drama to scenes for photos with impact. They can bring even the mundane of spots to life. “Golden hour” and “Blue hour” are also extremely popular. Golden hour is the period of time shortly after sunrise and just before sunset where light is warmer and softer than when the sun is higher in the sky, while the blue hour is the period of time just after a sunset and just before sunrise when it’s also diffused but produces deeper blue tones. These two periods of light bring a sense of magic and atmosphere to your images, that wouldn’t have been present in the middle of the day.
These periods also tend to be the most successful for landscape photos as the early and late times of day they occupy mean that fewer walkers/tourists are likely to be strolling through locations to potentially ruin your shots, and you may also benefit from some atmospheric mist or fog before its burnt off by the sun. Where possible, try to shoot on days where skies feature some clouds but are not overcast or totally blue for increased detail and depth. You may not always get the best light for an image on your visit to a location, so don’t be disheartened if low clouds mean you don’t capture the perfect sunset you had planned on your first outing. Many professional landscape photographers will plan multiple trips to a location before being rewarded with the perfectly lit image they had in their mind’s eye.
6 – Try to consider every element within your frame
Sometimes it can be what at first seemed the most insignificant thing within a scene that ruins an image, so try to be aware of every element within your frame. If that hiker wearing a bright red jacket was going to be out of sight in two minutes, consider waiting before taking a shot if you don’t want them to become an unintentional focal point. If there was a rather unattractive road sign visible in the mid-distance that could have been obscured by a tree by moving half a foot to your left, consider shifting your position. Sometimes including or excluding the smallest element within your photo can make all the difference to its success.
It is crucial to set your camera properly if you want to take the highest quality landscape photos. However, with the large range of menu options and settings found in cameras today, it isn’t easy to find the optimal setup. Keep in mind that all of these are personal recommendations rather than absolute necessities, but they will be useful if you are trying to figure out where to start with your own camera in the field.
Suggested Camera Settings for Landscape Photography
In a nutshell, here are some basic parameters that could serve as a starting point depending on the lighting conditions and desired effect:
- Exposure mode: Aperture Priority
- Drive mode: Single shot
- Aperture: f/8
- ISO: 100
- Shutter speed: Determined by the camera
- White balance: Varies (depending on the lighting conditions)
- Focus mode: Manual
Here are some more detailed settings that are recommended and commonly used by landscape photographers:
- Shoot RAW
- Turn off high ISO noise reduction
- Turn off lens corrections
- Turn off Active D-Lighting (or Dynamic Range Optimizer – goes by other names)
- Autofocus: Acceptable to use in good conditions, however, manual focus will give more control when composing
- Autofocus using the AF-ON button (or assign a button to that task)
- Select the autofocus point manually
- Use single-servo autofocus in live view for nonmoving scenes
- Use continuous-servo autofocus for moving subjects
- Manual focus: Use if autofocus is not giving you a sharp result
- Focus manually at 100% magnification in live view, with a tripod
- Picture Control: Set to its default style, or to the lowest possible contrast if you are a histogram maniac (though beware of underexposing)
- White balance: Use whatever gives you a good preview (often just Auto), or find your camera’s UniWB if, again, you are a histogram maniac
- Turn on long exposure noise reduction, assuming that you are willing to wait twice as long for your camera to capture long exposure photos in exchange for fewer hot pixels
- Enable alerts the histogram for under and overexposing
- Disable “rotate tall”
- Enable one-click zoom when you review a photo (if available)
A well exposed image results in a photo that's close enough to a sky and foreground, meaning that you can recover any lost details when you process the image. Here are some recommendations:
- Use manual or aperture-priority mode so that your camera doesn’t adjust the aperture automatically
- Set your aperture to balance depth of field and diffraction – typically, at a full-frame equivalent of f/8 to f/16 (but a larger aperture for nighttime photography, when you have no other choice)
- Keep your ISO at its base value. In most cases, turn off auto ISO or set to the minimum
- Set your shutter speed to give you a properly exposed photo
- If your chosen shutter speed introduces too much motion blur, you’ll need to raise your ISO in order to use a faster shutter speed
- Use whatever metering mode you’re most comfortable with
- Adjust exposure compensation if your meter is recommending exposures that are too bright or too dark

In conclusion, mastering landscape photography is about embracing a blend of technical skills and creative vision. The landscape photography tips we've shared are designed to enhance your ability to capture compelling landscape shots, whether you're shooting landscapes in your backyard or halfway around the world. Remember, great landscape photography emerges from a deep appreciation of nature and a willingness to explore different perspectives and techniques. By applying these insights to your work, you'll not only improve the quality of your images but also deepen your connection to the natural world. Keep experimenting, stay patient, and most importantly, enjoy the journey of capturing the earth's majestic landscapes.
Related Article: 6 Tips for Better Landscape Photography
About The Author Manuel Delgado:
Manuel Delgado is an award-winning photographer with a specialization in travel and documentary photography. He writes for Contrastly and is a Mentor for NGO Photographers Alliance, having led workshops in Africa with a focus on ethical and humanitarian photography. His work has been exhibited in Europe and the Americas.
Driven by an innate curiosity for his surroundings, Manuel´s process is mainly focused on capturing people in their natural environment; translating through his lens the subtle threads of daily life that are shared across cultures, borders, and races. Depicting people from diverse backgrounds, his work is united by a shared aesthetic that serves to tell each individual’s story. Manuel is currently living in Düsseldorf, Germany.
Manuel Delgado Instagram Profile
Related Article: Adventures With a View – An Interview with Landscape Pro Jason Mihalick


