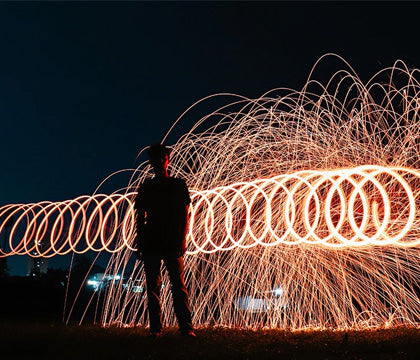
Light painting is a creative technique that produces dramatic and memorable images.
The surreal way that light wraps around the subject of the photo often leaves viewers wondering how exactly the trick is done. Fortunately, light painting isn’t overly complicated – with the right equipment and a bit of patience, you can use this approach to create stunning images for yourself. If you want to learn how to paint with light, here’s a simple light painting photography tutorial for you.
How It Works
Light painting involves leaving the shutter of the camera open for an extended period of time. Depending on the complexity of your shot, the shutter could be open for 10 seconds – or it could be open for over a minute.
Since the exposure is so long, light painting needs to be done in near or total darkness, or else the resulting image would be completely white.
While the shutter is open, you walk around the subject, waving your light source back and forth like a paintbrush to “cover” each part of the subject with light.
The first time you experience light painting, you’re certain to wonder why the photographer doesn’t show up in the picture, since they walk through the shot while creating the light.
Simply put, it’s because cameras only record areas illuminated by light. As long as the photographer has their flashlight pointed away from themselves, they will remain invisible. Pointing your flashlight at the camera will record a streak of light through the air, which can be used for artistic effect.

Gear Needed
Camera – Any camera that can be set to take a long-exposure shot can be used for light painting. However, the best choice is a DSLR, since it will be hard to get top results with a camera phone or compact camera.
Lens – With light painting, any lens will do. Your lens choice will be mainly determined by perspective – choosing a wider lens can help you include more of the setting in the final shot, while a telephoto lens can be used to compress the background.
Light Source – Any handheld light source will do, as long as it provides enough illumination. Top-of-the-line options, such as the Westcott Ice Light, include barn doors that help you avoid spilling directly at the camera. Otherwise, a portable LED light or even a regular flashlight can get the results you are looking for.
Tripod – You’ll need a sturdy tripod that won’t shake the camera if hit by a gust of wind. Even a tiny amount of shake during the shot can blur details and ruin your picture.
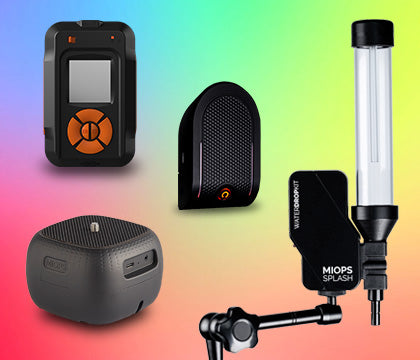
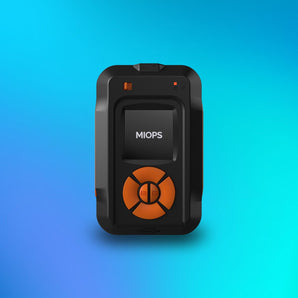
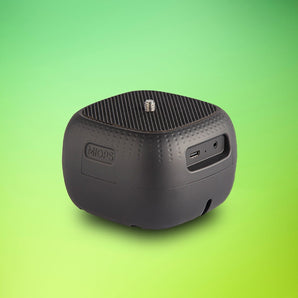
Shutter Release – Running back to your camera after every shot might be good exercise, but you’ll probably want to find a way to release the camera shutter from a distance, like the MIOPS MOBILE Remote or MIOPS MOBILE Dongle. With the MIOPS MOBILE Remote or MIOPS MOBILE Dongle attached to the camera, you can release the shutter with the tap of a button in the MIOPS MOBILE app.
Color Filters – If you want to quickly change the colour of your light source, you can slip a colored filter over top of the light.

Camera Settings
It’s a good idea to shoot in RAW format instead of JPG as it will give you more flexibility for edits after the picture has taken.
Camera mode:
Bulb or long-exposure, depending on the amount of time needed for “painting”. When using the MIOPS MOBILE Remote in bulb mode, you can simply open and close your camera shutter from a distance with the mobile app.
Focus:
Don’t run the risk of having your camera miss its focus on a long exposure in the dark. Set your focus manually to guarantee a sharp image. In the dark, you may need to use your light source to assist with focusing.
Aperture:
Selecting a narrow aperture, such as f/8 or higher, will keep your more of your image in focus. Remember that the camera aperture settings will also influence how much light is “collected” from your light source. So if the light from your flashlight isn’t bright enough, consider opening the aperture a bit wider.
ISO:
With a long exposure time and flexible options for aperture, you can prioritize a low ISO to get maximum quality in your image.

Technique
Plan your shot
When you are light painting, you are the artist. Plan in advance what parts of the image you are going to light up and precisely how you are going to move with the light. For example, when photographing a car you want to find a good line so that the light reflections on the body of the car.
Patience
This might be the key ingredient for any light painter. With experience, you might get to the point where you can produce the perfect image on the first pass, but it’s more likely that it will take a few attempts. Carefully study each picture and adjust your technique in order to get the exact type of light you were hoping for.
Layering
For more complex shots, you may consider taking multiple images and layering them later in Photoshop or your editing program. It is important that the camera doesn’t move at all between shots so that all shots can be properly aligned.
Post Production
While the goal should always be to get as close as possible to the finished image in camera, every light painted shot will benefit from some editing.
– Use adjustment brushes or a layer mask to dodge and burn parts of the image where the lighting level weren’t consistent. The goal should be to remove any distracting hot spots or deep shadows.
– Use the spot removal tool to remove imperfections and distractions, or to hide faint impressions of where you may have been captured in the light while painting
– Adjust the white balance to make sure the final shot reflects reality – or go all out and colour grade your photo with dramatic tones.
– If you are layering multiple shots, set the layer blending mode to “Lighten”. With this setting, the brightest values on each layer will be shown, allowing you to “stack” your images and simply mask out any parts that you don’t want to have in the final image.
And that’s all there is to it! Light Painting is a fun, quick and creative way to make an image that will really demand attention.
Good luck with your shooting!

Related Article: Long Exposure Photography: Guide and Tips You Should Know
Related Article: High Speed Photography Explore Site
About the Author
Frank Myrland is a freelance photographer who specializes in using creative, off-camera lighting to make dramatic images. He is a regular contributor to the popular photography blog Digital Photography School. You can see some of his work at frankmyrland.com or follow him on Instagram at www.instagram.com/frankmyrlandphoto.


