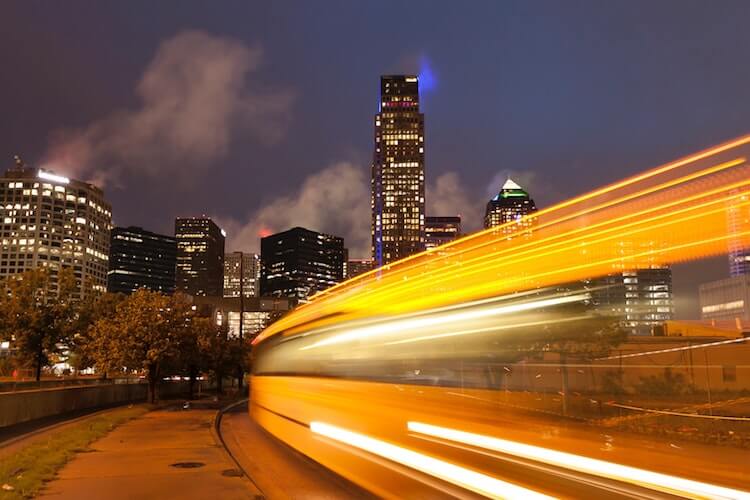
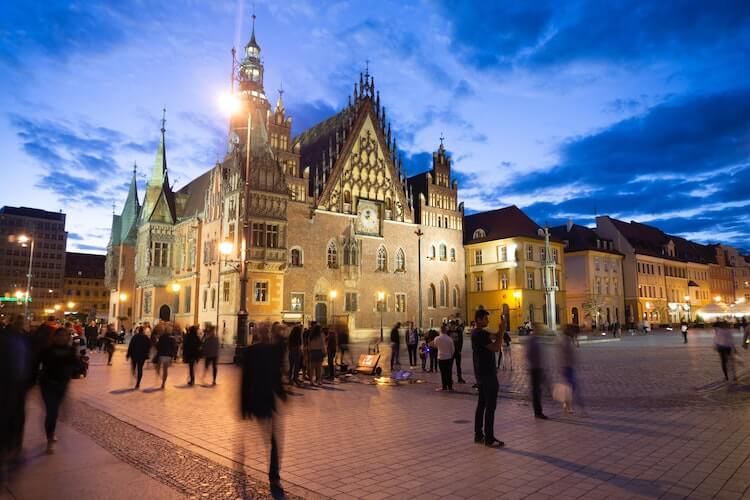
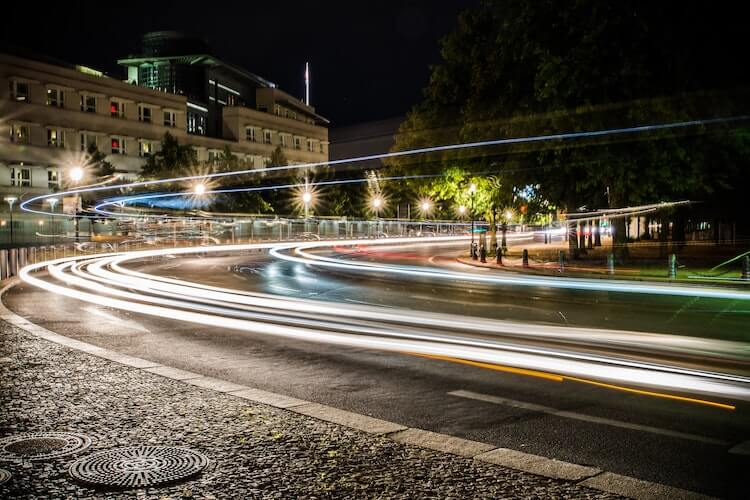
Timelapse photography allows photographers to present sceneries and chosen subjects creatively and breathtakingly. Admit it, watching timelapse videos of a beautiful landscape or a buzzing city street makes you say “Wow!”—unless the footage is poorly made.
Making a good timelapse video does not happen by simply putting your DSLR on a tripod, facing your subject, and leaving the rest to the intervalometer. Like an artist who makes sure every portion of his/her painting is well planned, a photographer is responsible for directing both the shooting and the post-production processes. You need to make sure that you have planned everything to come up with the best timelapse video.

Planning What You Need to Do—the Easiest Way
So what’s the easiest way to make good timelapse videos? If you want to create good timelapse videos to add to your portfolio, you have to plan for all the steps involved in creating the timelapse ahead of time. You need to find out what you will need during the shoot and even afterward. If you want tips on how and what to plan for, then consider the following:

1. Determine your subject
You first need to identify your timelapse subject. You should carefully choose your scenery or photography subject, and make sure it is worth capturing. Yes, pro photographers create masterpieces from random and straightforward things, but even that requires careful planning—the lighting, angle, etc.

2. Visualize your subject in mind
Related to determining your subject, you need to be able to see the outcome of your timelapse in your mind. It is like an architect creating a blueprint for a house to see his/her creative ideas be realized. Before even setting up the camera, a professional timelapse photographer already has a very good idea of how his/her video will look after post-production.

3. Find out the best time to shoot
Any photographer knows the importance of lighting in taking shots. Although using ND filters can help in a pinch, you still need to determine the best time of day for you to achieve the perfect natural lighting for your photos. Know that doing timelapse requires many—at least hundreds—of frames captured in a given period, and there will be changes in the lighting during the shooting process as time passes by. For this reason, you need to plan for when to shoot and how much time you need to achieve the effects you want in your photos.

4. Look for the best location
Aside from the time, you also need to determine the location from where you will take the best shots. It is not only the accessibility and clarity of the view that you need to consider. You also have to choose a spot where you have a creative angle and where your camera can capture all the scenery elements you wish to include.
5. Choose the equipment and everything you will need
Next, you need to know what to bring with you. These are the essentials you need to bring:
-
Camera: Of course, you will never be able to take timelapse photos if you do not have a camera. With the advanced technology now, you can use any camera with high-speed shots—even smartphones can be used for taking timelapse now. However, for more professional results, use a DSLR or a mirrorless camera. It will not only give you high quality pictures, but it will provide you with far more control over your camera’s settings.
- Tripod: Well, timelapse photography requires stability, therefore, unless you are a super-human statue that can hold your camera for hours without moving, you’ll need a highly dependable tripod. It is best to get a light tripod that can be carried anywhere, especially to difficult locations like the mountaintop. However, it should be sturdy enough to support your camera and prevent any camera shakes.
-
Intervalometer: You cannot achieve your timelapse shots without an intervalometer. This device allows you to set the number of frames you need to capture for your timelapse video and the time interval between each shot. Some cameras have a built-in intervalometer, but if yours does not, then you will need to purchase one.
- A camera trigger and remote: To keep your camera from the slightest movements or camera shakes, it is best if you use a camera trigger to trigger the shutter release. MIOPS Smart+ will allow you to control your camera from your smartphone. They let you remote shoot and control your camera without actually touching it. They also have an intervalometer feature – so you actually have two devices in one. If you are more adventurous and want to take more advanced timelapse videos like stormlapse and timewarp, then the MIOPS Smart+ camera trigger can also help you do these.
ALSO READ: What Equipment is Necessary for Time-lapse Photography?
6. Set the frame intervals.
Another thing that you need to plan for is the number of frames and the interval between them. You have to determine how much time you need to capture your intended scenery/subject. Then, you need to calculate how many frames you can shoot within that said time, including the number of seconds between the shots, for more uniform transitions between frames.

7. Learn from the professionals.
If you want to perfect your timelapse videos, then study how the experts do it. You can watch video tutorials or read blogs about photography. Or, if you know a professional photographer personally, ask them to mentor you and observe how they do it.
More About Timelapse
To master the craft of timelapse photography, you need to get the best out of the resources available to you. For instance, the MIOPS website does not only offer advanced camera gadgets and accessories but also provides helpful photography tips from which anyone can learn. Thus, I invite you to visit our website regularly and stay updated with our weekly blog posts.
Related Article: How to Start with Time Lapse Photography?


