Reflections are quite enigmatic and create a special photography effect. Looking at a reflection is like seeing a different dimension, but it actually shows our own. It is like a natural photograph that mirrors our world.
Reflections are great additions to breathtaking landscape images. Impressive examples are snow-capped peaks mirrored in the lake in front of them. Reflections can also be beautiful in architecture, self-portraits, and other kinds of photos.
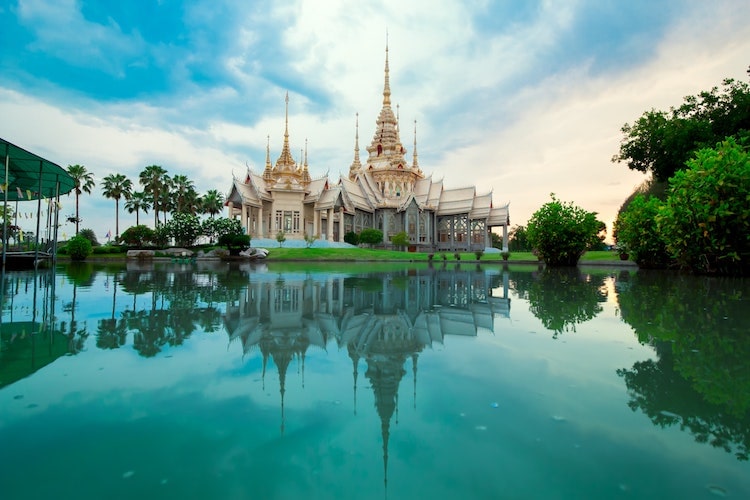
What is reflection photography?
Reflection photography is photography that uses the art of reflective surfaces. It allows you to frame the main subject and a surface that mirrors or reflects it. Some photographers capture the reflection alone, and others include the subject in the frame.
If you want to perfect the craft of reflection photography, practice the following artistic tips. Before talking about tips, however, let’s do a quick refresher on reflection photography first.
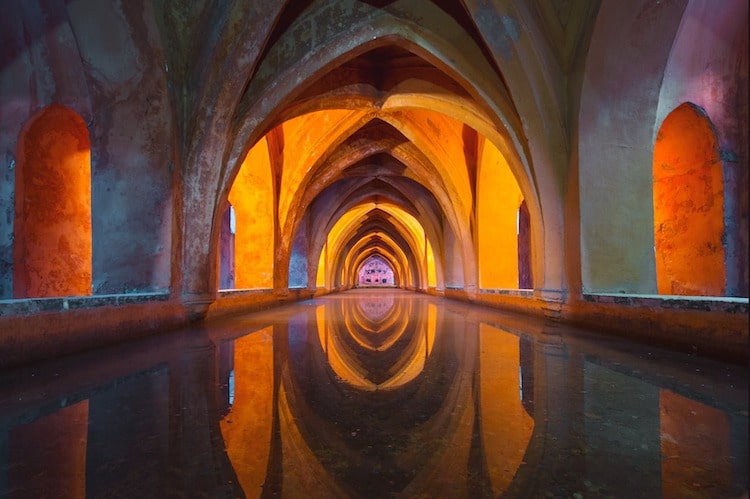
Reflection surfaces
Mirrors are not the only reflective surfaces. To find the best venues for your reflection photos, you know the surfaces that can reflect your subject creatively for that surreal effect.
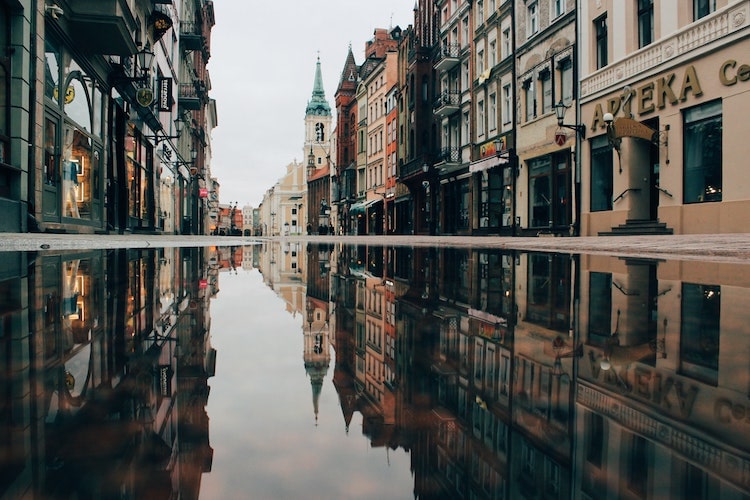
- Water- Forms of water, such as puddles, pools, and lakes, are some of the favorite reflection surfaces of photographers. They are ideal for their natural aesthetics.
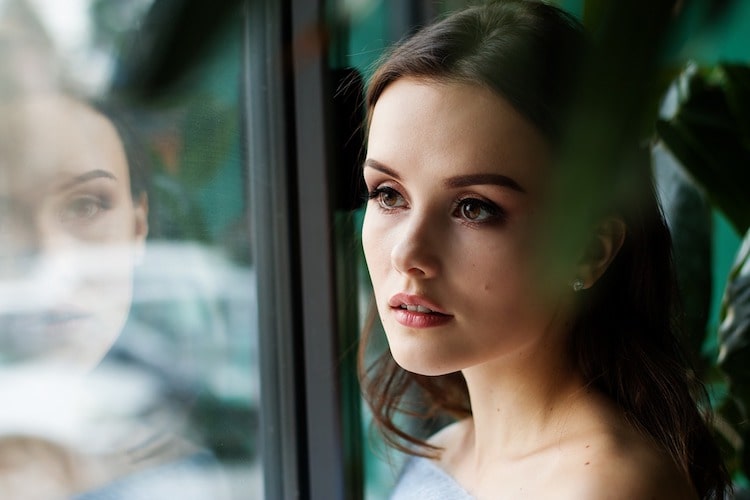
- Windows- Windows or any glass pane can either reflect the scenery or the subject you want to capture.
- Polished surfaces- Polished counters, tables, or even floors can also create an artistic reflection of your subject. It may not be as crystal-clear as that of a mirror, but the effect will definitely be dramatic.
Tips on Capturing Reflections
Here are some specific techniques that will help you create great reflection photos:
1. Pick your subject.
Before you focus too much on finding the best reflective surface, remember that the star of your photo should be the subject—not the reflection. For this reason, determine the main subject you want to feature in your image. It could be a landscape scenery, such as a wooden bridge, the mountains on the horizon, or the bright city lights across the lake. Or it could be something smaller like a single tree or a friend. Imagine how stunning your subject would be if its reflection is perfectly captured.
2. Choose the best reflective surface.
There are a lot of reflective surfaces around you. It could be any body of water or a polished surface. Even small, but reflective objects, like sunglasses or a glass of wine, can become a great reflective surface. You simply need to learn how to visualize the effect it would have on your subject.
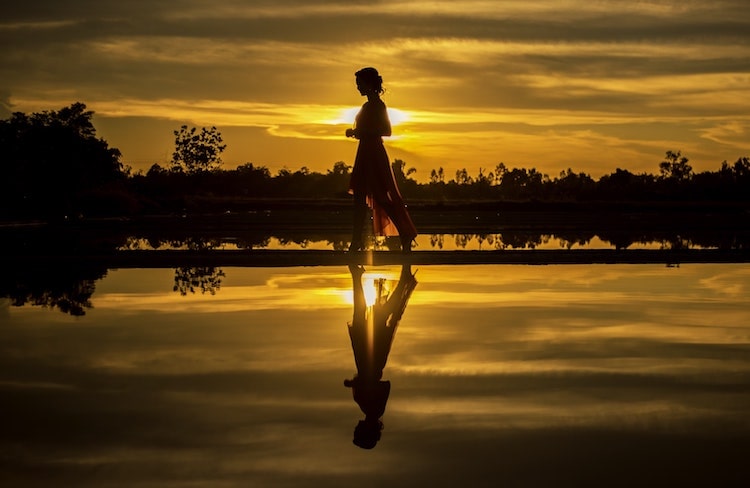
3. Make sure you do not appear in the reflection.
Reflective surfaces reflect everything – including YOU if you are in the frame. One of the common mistakes in reflection photography is getting an image of yourself caught in the reflection. No matter how beautiful the photo, this small mistake can ruin your picture. Therefore, choose the right angle, where you will not appear in the reflection.
4. Stay away from the sun.
If the sun is in your image, it can also ruin the entire shot. The sun’s intense brightness will likely overpower the rest of the composition. If you are shooting outdoors and need sunlight to illuminate your subject, make sure to shoot from the right angle to keep the sun out of the picture.
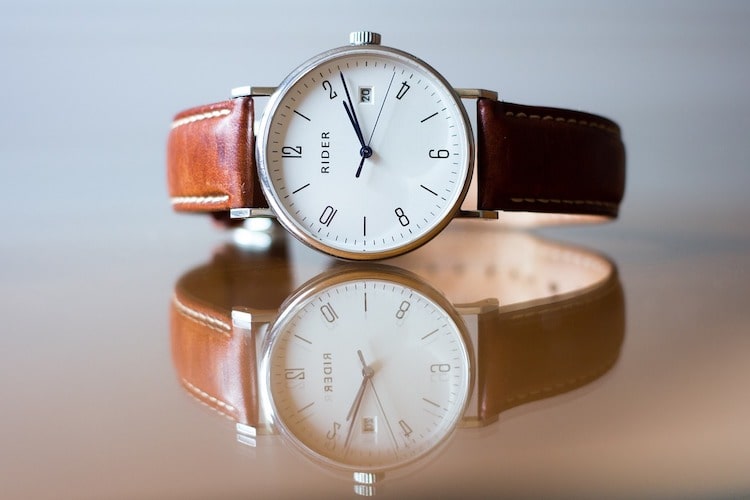
5. Go minimal.
Another technique that can highlight the effect of reflection photography is removing all distractions from the frame. You can focus your composition solely on the subject and its reflection to create a dramatic effect. This technique is excellent when you use a body of water to reflect the main element that is in focus while keeping the background out of focus (i.e., bokeh effect).
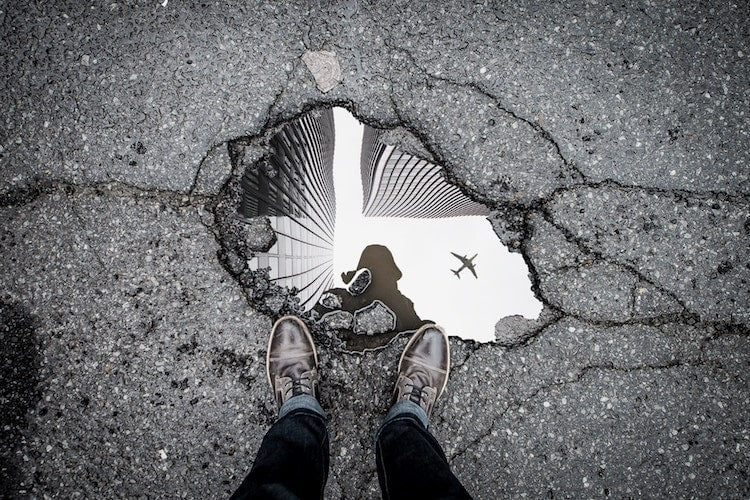
6. Always include both the real object and its reflection in the frame.
While it is not a bad idea to focus on the reflection only, capturing the target object and its reflection will create a more artistic effect.
7. Embrace distortions.
Avoid being a perfectionist to the point that you will only accept straight or smooth reflective surfaces. It is okay if the reflection of your primary element is distorted by surface features like ripples on the pond. The distorted image will add an interesting effect to your picture’s foreground.
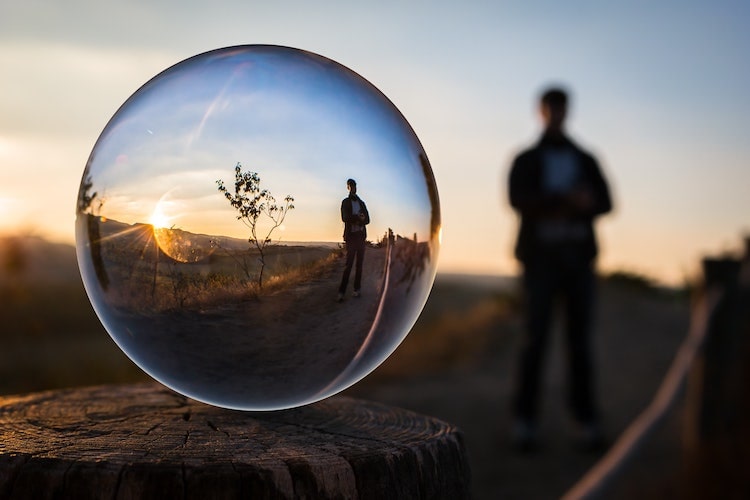
8. Take a close shot.
It is also a good idea to try to shoot close to the reflective surface – specifically, the recommended distance from the reflective surface is one inch. This will highlight the reflection part of the image in your composition.
9. Use the long exposure technique.
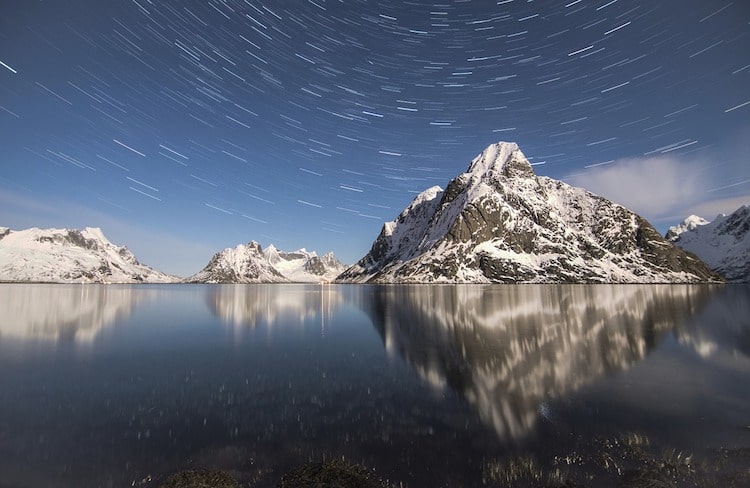
If you are using moving water as a reflective surface, taking long exposure shots will create stunning effects. To do this, you need to set your camera to a long shutter speed. The long exposure method creates hazy reflections that result in a dreamy ambiance in the image.
Take impossible photos by turning your camera into a high-speed capture device!
MIOPS SMART+
Using camera triggers like the MIOPS Smart Camera Trigger, Mobile RemotePlus Trigger or Mobile Dongle, make taking long exposures incredibly easy. These triggers control your camera remotely through a mobile app – which is critical to prevent any camera shakes during the long exposure. In addition to being able to customize your long exposure settings, these devices have other advanced shooting features.
Learn More Photography Techniques
Aside from reflection photography, other techniques allow you to showcase your talents in photography. Some of the other popular methods are timelapse, HDR, bulb ramping, and many more. To learn more about these techniques, read and explore our photography blog.
Feel free to check all the MIOPS products as well to find the best photography devices and accessories that can help you to improve your photographic creativity.
Related Article: The Go-Getter’s Guide to Long Exposure Photography


